Sometimes we unjustly send two print jobs from our HP printer. So, learn how do I cancel printing jobs on HP printers on Windows 10, 8, 7 Computer, Mac, iPhone, iPad quickly. The print jobs cancellation helps us to save money, time, and paper.
Top Solutions for How to Cancel a Print Job on HP Printer & Windows 10
1] Cancel Print Job from Printer’s Control Panel
- If you are utilizing a Printer with buttons, then you require to press the Cancel button.
- If you are practicing a Printer with a Touchscreen panel, then you need to touch on ’X’, Stop, or Cancel.
[2] Cancel Print Job on HP Printer via Android Phone
NOTE: Constantly discover that you are simply worthy of canceling print jobs from your android mobile device which you used to send print jobs.
- On your Android Phone, there are two options HP eprint application and HP Print Service Plugin to cancel a print job from the print queue.
- If you are practicing the HP eprint application for printing, then proceed to its home screen.
- Following this, you require to succeed on the notification icon from the eprint application.
- Immediately touch on the “X” button and then tap on Yes.
- The current printing job will stop immediately.
- If you are using HP Print Service plugin for printing documents, then you necessitate to swipe down the screen to view the current notifications.
- Now you require to select the print job from the queue which you need to cancel.
- Touch on the Cancel button to cancel the print job.
[3] How to Cancel a Print Job on Windows 10
Learn how to cancel the print queue in Windows 10 device.
NOTE: Always remember that you can just cancel the print job from the computer that you practiced to send the print command.
- At first, open the print queue.
- See the printer icon near the notification section of the Taskbar menu.
- Now click on the printer icon to open the print queue.
- If you are incapable to locate the printer icon in the taskbar notification area, then press the Windows key and seek for Printers.
- Following this, you require to choose your HP printer from the record of printers and then click on Open Queue.
Next right click on the particular print job you desire to cancel on windows 10, then succeed on Cancel.
[4] How to Cancel print job on HP Printer via Apple iPhone or iPad
Learn how you can cancel the print job from the print queue on an iPhone or iPad.
- At first, you require to open the App Switcher.
- If your mobile gadget has a home button, then snap on the home button twice.
- If your device does not support the home key, then you are deemed to swipe up from the bottom of the screen.
- Now swipe the left side and later tap on the Print Center app.
- Now click on the particular print job that you want to cancel, then tap on Cancel Printing.
[5] How to Cancel Print Job from Print Queue on Mac OS or OS X
- Firstly, discover the printer icon on the dock.
- Next, you require to click on the printer icon by choosing the print jobs.
- A record of print jobs will display from the print queue.
- Promptly you necessitate deciding which job you desire to stop. So take the one and click on the Cancel button icon alongside the print job.
- In conclusion, the wanted print job will be canceled.
- If you are helpless to find the printer icon on the dock, then proceed to the “System Preferences”.
- Following this, you require to hit on the Print and Scan icon.
- Promptly again you have to choose your HP printer from the menu, then click on the key “Open Print Queue”.
- From the list of the print queue, you require to click on the Cancel key next to the print job.
Above all solutions are to cancel the print jobs from the print queue. If you want to cancel stuck or pending print jobs in the print queue, then avail of the expert’s assistance.
Read More:
Can I Fix HP Envy 4500 Cartridge Error
Guide for HP Officejet Pro 8710-8720 All-in-One Printer Troubleshooting
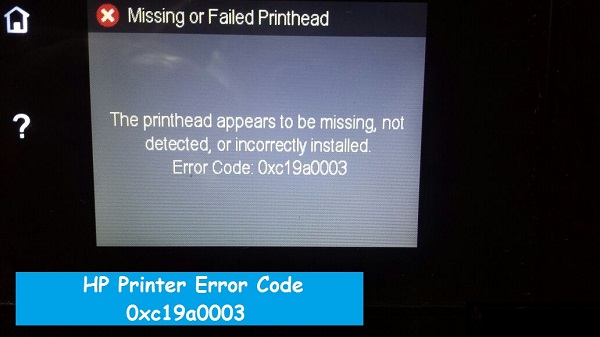
How to Solve HP 8610 Error Code 0xc19a0003
How to do HP Envy 4520-4527 All-in-One Printer Troubleshooting